How to Repair a Hole in A Door

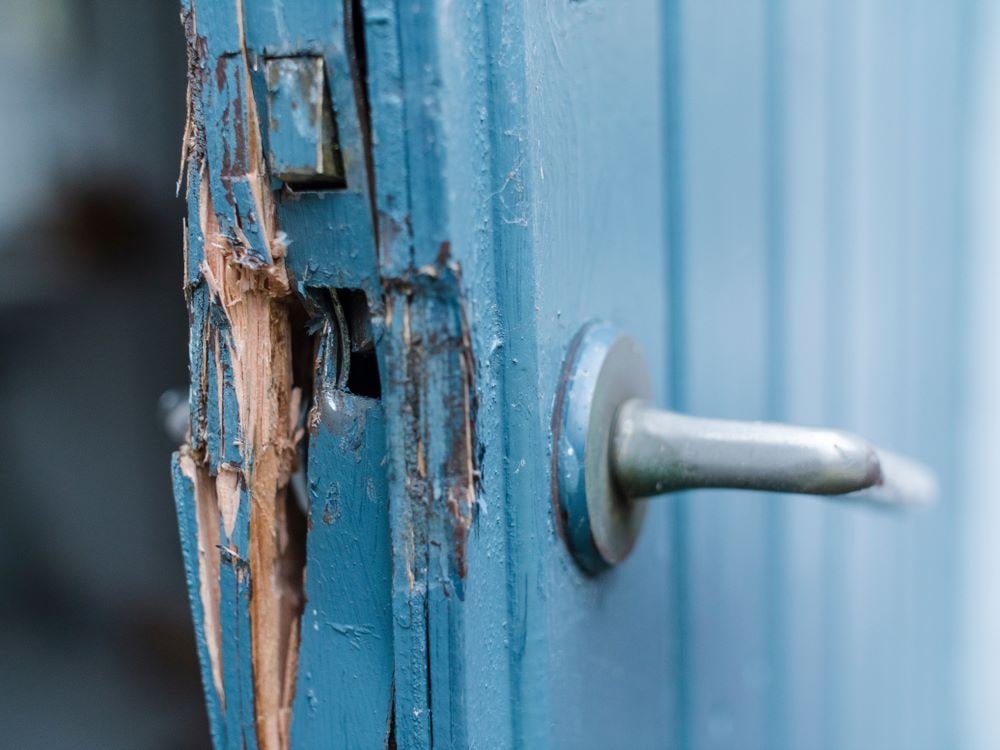
Hollow core doors have become the preferred choice of many. They are both light and affordable. Also, they are paintable and can withstand common wear and tear. However, these doors are prone to the occurrence of accidental holes, especially resulting from the impact of a hit when moving items in the house.
If this happens to our door, do not panic. The process of repairing a hole in a door is a simple one that you can finish within one or two hours. You also won’t need any expensive tools or materials or some special expertise.
Don”t hesitate to call door fix in Toronto for resolving your problems.
You will need simple tools and materials like:
- Drop cloth
- Paper towels or newspaper
- Utility knife
- Lightweight autobody filler
- Low expansion aerosol foam insulation
- Plastic putty knife
- Paintbrush
- 120 grit sandpaper
- Spackle
- Touchup paint
Once you have these tools and materials, follow the simple steps below to repair your door. The good news is that you won’t need to remove the door from its hinges.
STEP 1: Protect your floor
Slide the drop cloth under your door and spread it well around the space under the door. This will help to protect the floor from the paint, glue, and spackle.
STEP 2: Make the edges of the holes neat
Use the sharp utility knife to chop off the ragged edges of the hole. You should use a utility knife with retractable snap-off blades. When doing this, slightly tilt the knife and cut slowly in a sawing motion until all the splintered and rough edges are removed.
STEP 3: Stuff paper inside the door to surrounding the perimeter of the hole
Crumple up a small bit of the paper towels or newspaper and push it into the hollow area of the door. This will help to hold the foam that you are just about to apply in the next step. Therefore, ensure the paper covers the entire perimeter of the hole.
STEP: 4 apply the Foam
Use a straw to spray the low-expansion aerosol foam into the hole. Do not use high-expansion foam, as it can create excess pressure, causing an outward bow on the door surface. Spray the foam slowly, starting from the back of the hole. After spraying, let the foam settle for about 10 to 25 minutes before the next step.
STEP 6: Add auto-body filler
Cover the hole with the lightweight auto-body filler. Ensure the auto-body filler is compatible with the insulation you have used. Use the plastic putty knife to scoop the filler and apply it over the hole. Wipe off any excess and let it dry.
STEP 7: Smooth, spackle, smooth
Remove any dried auto-body filler from the surface using the 120-grit sandpaper. Next, apply a thin layer of spackle using the putty knife. After it dries, sand it again. Test the smoothness with your fingers.
STEP 8: Paint
Apply up to four coats of the touch-up paint over the repaired surface to hide any scars of the repaired hole.
All these tips suits to Top Door Repair.