How to repair a door jamb
A broken door jamb can be fixed. In case you had yours broken, then you can still door fix and restore its initial look. Usually, when your door is kicked, its side gets split vertically. The striker plate hole and the door swings yank open. The door’s casing is also lifted. You can fix such a door’s jamb by simply gluing it together.

Fixing your door jamb can be a very easy procedure. You should first insert a knife in between the loose casing on the side of your doorknob. This should be done from the interior side of the door. Gently draw the door’s casing out of the jamb. This should be done at the point where it is nailed with the aid of the putty knife and your hands. In case the casing is split or damaged, you can throw it away. For more information call our Top residential Door Repair, we work for you.
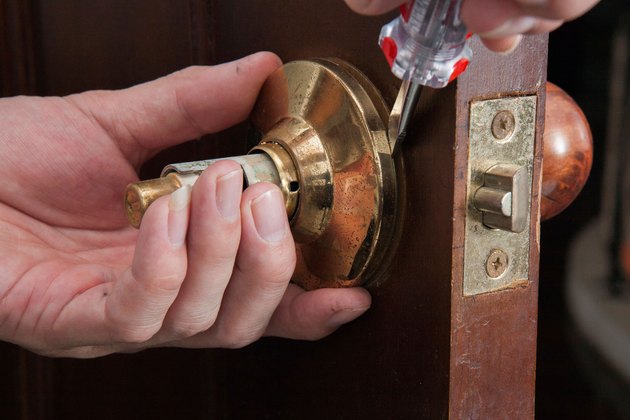
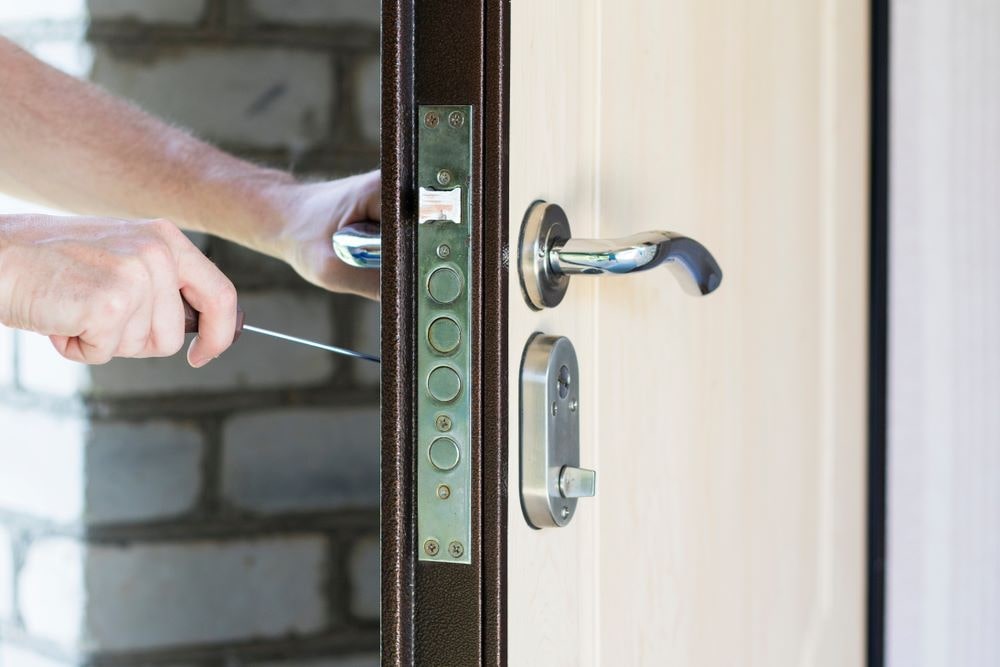
You can then remove the striker plate out of the door in case the crack goes behind it. At this point, undo the screws that are holding the striker plate in place. This should be done using a screwdriver. This will enable you to pop the plate from the mortise. In the event that the strike plate is intact, then you should not interfere with it.
At this point, you can push the splintered jamb into the original position. You should carefully clean it of any chips and loose splinters. You should also clean it of debris. This can be achieved by using the tip of the putty knife. You must make sure either side of the jamb fit together tightly.
Proceed to pull the split sides of the jamb open. Use a putty knife to spread the glue on the blade. Ensure that all the parts that have been split are smeared evenly with the glue. Slide in the putty knife into the crack. You should split and scrape the glue at this point. All cracks will have to be saturated with the glue.
Get clamps and place them across your jamb. Adjust to tighten until the split that is in the jamb is tightly bound. The glue should be seen oozing from the cracks. Give the glue at least an hour to dry up.
You can now remove the clamps. Any dried glue left should be scrapped off using a putty knife. You should also clean the mortise using the end putty knife’s side. You can now screw in the striker plate.
You can then nail the casing back into place. You can use 1-inch finish nail and hammer. If the old casing is damaged, you should use a miter saw at 45 degrees when cutting the identical piece and nail it for replacement.
You should then tap the nails below the surface of the casing. This should be done using a nailset. These holes should then be puttied using putty crayon with colors that match the door. The seams and tracks should be colored using a stain-marker. This should also be done to the surfaces on which the jamb was glued back. You will have repaired your door jamb.