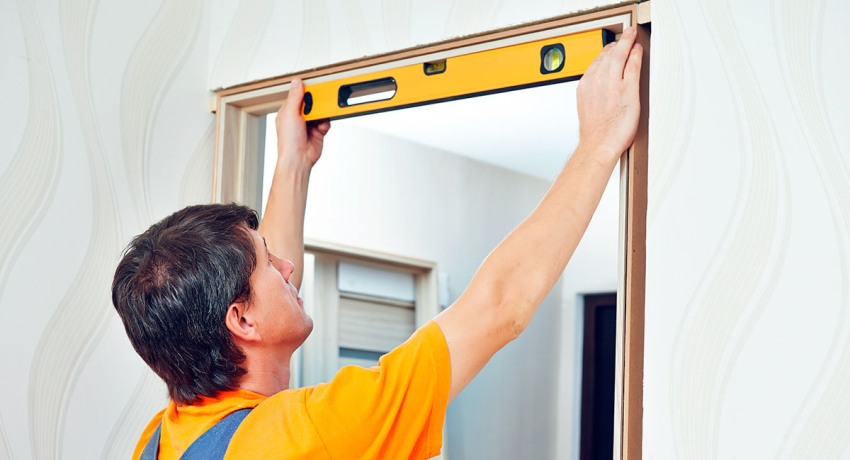
How to Repair Outside Door Frame
A few reasons can make you change your door frame, and the two most common ones are because the frame is broken or it is rotten. Both of these problems have easy to apply solutions which you can effortlessly do on your own. Here are some of the ways to to make a door repair.

Most door frames rot from the bottom corner as a result of rain intrusion as a failure of the caulk seam.
Step1: Separate the weatherstrip from the jamb by pulling it out (you will need to install a new one). You will also need to pry off the mold and get it out of the way so you can install the jamb splice.
Step2: Using a utility knife, cut the caulk line along the entire length on the two sides of the molding.
Step3: At a safe distance from the load-bearing area on the door hinge, use a combination square to mark a horizontal line around 6 inches above the sill. Also, ensure that the line is several inches above the rotted part. There could be nail heads around this area which might damage your saw blade, so take care.
Step4: The next step is to cut the jamb. Use a saw blade to do so, following the pencil line you made before. This process does not need professional precision since the saw blade can guide itself perfectly. Also, take care not to go in straight with the saw as it might pinch the new repair splice.
Step5: Some door sills are usually stapled, and this can make it difficult to pull them out. However, twist them around the needle-nose pliers and pull them out. But if yours does not have staples, then you can proceed to the next step.
Step6: Depending on whether or not the wood brick mold has started rotting or not, remove the brick mold using a pry bar and claw hammer. You will then need to achieve a smooth surface on the door frame; therefore, you will need to shave the remaining caulk off it using a chisel’s sharp flat blade for quick results.
Step7: Now, you should have purchased a new jamb, preferably PVC, is that they are waterproof, and rot proof. Make a precision cut from the new jamb using a miter saw and insert it in the section.
Step8: Predictably, the new splice will be slightly deep inside, and you will need to use a shim material, preferably a self-stick flashing tape. Build up the thickness with several layers until it fits perfectly then fasten it with finishing nails. For an even surface, sand down the protruded jambs.
Step9: Next, use a door foam with minimum expanding ability to prevent future bending then use self-stick flashing tape to cover the gap. This should be followed by the fastening of a brick mold into the jamb.
Step10: Lastly, caulk the seams along the new brickmould and the sill and jamb.